Determining Requirements
When I first started planning the studio's website, my requirements were quite simple:
- Need a Content Management System (CMS)
- Ability to use a custom domain name
- Easy to manage and maintain
After quickly evaluating various options, WordPress became the natural choice due to its stability, ease of use, easy migration, and large user community.
Finding Suitable Hosting
Next came the hosting selection. Initially, I looked at common paid plans in the market, such as SiteGround:
- First year costs several thousand NTD
- Annual fee thereafter around 10,000 NTD
- Very comprehensive features, but perhaps too much for a small studio
Honestly, given the current scale of the studio, we won't have significant traffic for the next few years or even decades. These fees would accumulate into a considerable expense over time, so I started exploring other possibilities.
Exploring Free Options
Option 1::Oracle Cloud Free Tier
This seemed like a perfect solution
- Completely free (unlike GCP, AWS, etc., which only offer free trials for several months to a year)
- Abundant resources
- High stability
However, after actual attempts, I found that it is difficult to apply for an Oracle cloud account. This is the most ideal long-term solution. Although I did not apply successfully while writing this article, I finally applied successfully after a month, and then moved my website from this article。
Friendly reminder: If you're not familiar with Linux, self-hosting WordPress on a virtual cloud has technical challenges. It's not recommended unless you have an engineering background.
Option 2: Free Virtual Hosting
Since Oracle wasn't viable, I began searching for other free hosting services. During this process, I discovered an important consideration: free services can change or terminate at any time, making website portability crucial.
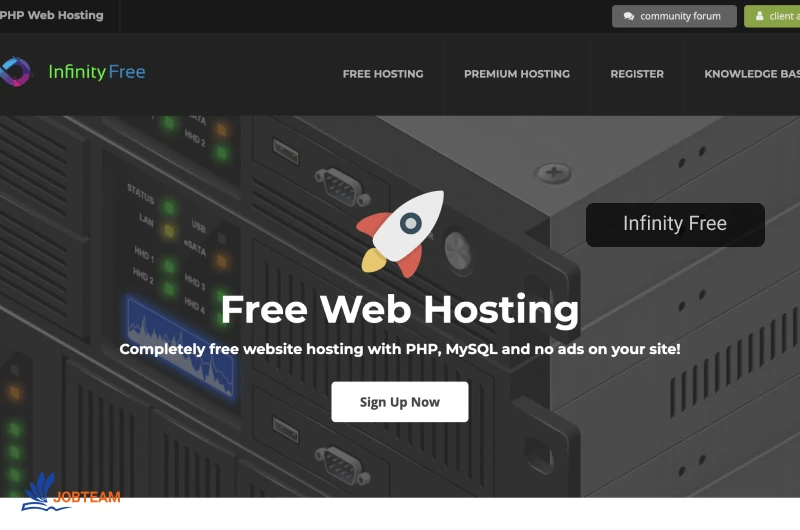
After comparing multiple services, only InfinityFree met my requirements:
- Supports custom domains (which is quite rare)
- One-click WordPress installation
- Complete basic functionality
While other free hosting services exist, almost none support custom domains, making InfinityFree currently the most suitable choice.
Final Consideration
Though perhaps not the perfect solution, it's a practical choice for an independent studio just starting out:
- Zero upfront costs
- Has all basic necessary features
- Easy future migration
We can always upgrade to a paid plan when the studio grows to a certain scale.

A. Setting up InfinityFree and Installing WordPress
The process of signing up for InfinityFree and installing WordPress was surprisingly easy. I referred to this article, and as mentioned, it took about five minutes to complete.
InfinityFree Since InfinityFree doesn't have a Chinese interface, here are some detailed steps:
- Register an account and verify your email

After logging into InfinityFree, click "Accounts" in the top tab, then click "Create Account"
Choose the free plan and select any free URL to complete the creation
After creation, click the green "Control Panel" button

In the Control Panel, scroll down to find "Softaculous Apps Installer". Click it, and WordPress will be the first option. After installation, you can use it directly. WordPress language can be set to Chinese, so you won't need to deal with English interfaces afterward.
B. Setting Up Pre-purchased Cloudflare Domain

Setting up a pre-purchased domain is more complex and takes at least half an hour if everything goes smoothly. In my case, it took an entire day. Here are the detailed steps:
Return to the main page and click the purple "Add Domain" button
Click "Add Custom Domain"
After entering your pre-purchased domain, you'll reach the ownership verification screen

On this screen, click the "CNAME Validation" button at the bottom to see two important pieces of information: CNAME record and Desired CName target
Go to Cloudflare , select Domain Registration from the left menu, then Domain Management, and click Manage

Click Update DNS Settings, and you'll need to add three records as follows:
The differences are as follows. The verification code is the string of garbled characters (subdomain name). For example, in the example above, it is 77b97886e394e1f2c50609f36b136151, without the last example.cc. To cancel the proxy, click the orange cloud after setting it to turn it into a gray cloud state, and finally save the settings.
| A | @ | 185.27.134.103 | grey cloud state |
| A | www | 185.27.134.103 | grey cloud state |
| CNAME | your verification code | ns1.byet.org | grey cloud state |
Wait at least five minutes for global DNS propagation. You can check progress through DNS checker websites. If you don't see any green checkmarks after five minutes, review your settings

Return to InfinityFree, where you should now be able to add the domain successfully. Reinstall WordPress, and you'll be able to access your site through your domain via HTTP
Finally, for HTTPS support, return to InfinityFree, find "Free SSL Certificates", and add another CNAME record following the same method. Remember to disable the proxy (grey cloud state)
Further reading:
Farewell to Slowness: Experience Sharing on Migrating WordPress from InfinityFree to Oracle Cloud
Why buying a domain from Cloudflare is the best option
Leave a Reply